Announcing Elements Twelve Hi everyone. I'm overjoyed to announce the immediate availability of Elements Twelve, the next major version of our multi-language, multi-platform compiler and development suite. What's in a new version number? As you know,
Island/Delphi: Using Delphi APIs from Elements With the just-announced Elements Twelve, we have added a major and long-requested new feature to our native-code "Island" platform: support for the Embarcadero Delphi class/object model and – with that – the ability to
Two New Oxygene Language Features We've added two cool new language features to Oxygene this week: Required PropertiesProperties in Oxygene can now be marked with the required directive. The new directive addition mandates explicit initialization of the properties
Introducing CodeBot This week's build of Elements gives a first peek at an exciting new feature we've been working on for the Fire IDE: CodeBot. CodeBot is a smart coding assistant that can help you
Core, Core, Core Hi everyone. Today's build of Elements 11, build .2771, brings a first glance at two new experimental features: the ability to run the Elements compiler on .NET Core and — more excitingly — the Water
Introducing the RemObjects Referral Program What if you could save money on your RemObjects Software product licenses when referring others to check out the products you use and love every day? Today we are happy to introduce the
Happy 27th Birthday, Delphi Today Delphi is 27 years old. Wow. I remember taking a half-day off work (I was doing my year of social services at an Institute for Worker's Safety in Dortmund, Germany, developing an
ESP: Keeping Classic ASP.NET Alive I'm a big fan of Classic ASP.NET for web development, and (among other things) our website is built 100% on ASP.NET with Elements. But, as you might have heard or found
Actors Actors are (next to async/await) the big thing for Swift 5.5 this year. If, like me, reading the official spec makes you want to kill yourself slowly, and even the WWDC2021
Announcing Remoting SDK and Data Abstract Build .1515 Hi everyone. I'm happy to announce that today we shipped major new "Stable" channel builds for Remoting SDK and Data Abstract (10.0.0.1515) and Hydra (6.4). These new
Webinar Next Week: WebAssembly w/ Oxygene Join me and my former colleague Jim McKeeth next Tuesday, June 8, for our webinar on using WebAssembly with Elements — with a specific focus on Oxygene and Delphi developers. Jim and i will
New Hosting Packages for Remoting SDK Remoting SDK for .NET adds support for Microsoft.Extensions.Hosting and Topshelf.
Introducing Mercury We are thrilled to announce the release of Elements 11, and with it its most interesting new feature: the introduction of Mercury as the sixth language supported by our compiler and tool chain.
Elements: It Goes to 11! With this week's Stable release of Elements, build .2627, we've increased the major version number from 10 to 11 (insert a Spın̈al Tap joke here). This is to celebrate the newest addition
NuGet Packages and More, for Remoting SDK and Data Abstract The next build of Remoting SDK and Data Abstract will bring several quite important features. Some of them are relatively small ones, like support for Async Service Methods in Code-First Servers on .NET;
debugger Debug Info and File Formats In this previous post, I spoke about writing a debugger. This one will talk about the formats a debugger needs to be able to read. For our debugger we settled on using DWARF
debugger Writing a Debugger For the Upcoming version of Elements we completed the port from LLDB to our own native debugger. We already had debug engines for .NET, Java, WebAssembly, Windows and Linux, but for iOS and
Behind the Build(s) — .2605 On Friday we published Elements build .2605, the first "Stable" channel build of the year, and wrapping together a lot of great changes and improvements from the past couple months of previews. Let's
Behind the Build — .2585 Welcome back to Behind the Build, where we take a look at some of the new changes and improvements in the latest Elements build. Build .2585 marks the 59th (!) and last Elements release
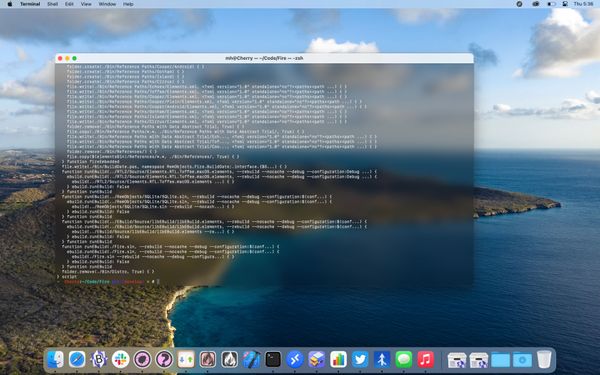
Behind the Build — .2577 "Behind The Build" is a new blog series where I will try to give some background information on some of the highlights of the weekly change log. As you probably know, we ship
The Apple M1 Chip Yesterday, Apple annoucned its new M1 chip, and three new Macs that will use it, shipping next week. We all expected great things from the move to Apple Silicon, first teased at WWDC,
Dependency Injection in Remoting SDK for .NET (Part II) This second part of our series on DI will be a bit more technical. It will discuss new APIs provided by Remoting SDK, their performance and other technical details. The first question that
Dependency Injection in Remoting SDK for .NET (Part I) Introduction One of the pillars of the modern software development industry are the SOLID principles. These code design principles provide a great (and solid) solution to the major software development challenge: how to
Talking About Visual Basic... This past weekend, I had the great honor to join Fellippe on the QB64 Podcast, QB64 Report, to talk about the past and future of BASIC, Elements, and our new currently-in-development Mercury front-end
Relativity Server and Docker How long would it take to freshly installed an Ubuntu host, deploy a combo of PostgreSQL server + Relativity Server, and to let it accept connections on port 80 using nginx? Do this twice